Roller Shades

GREAT FOR ALL ROOMS.
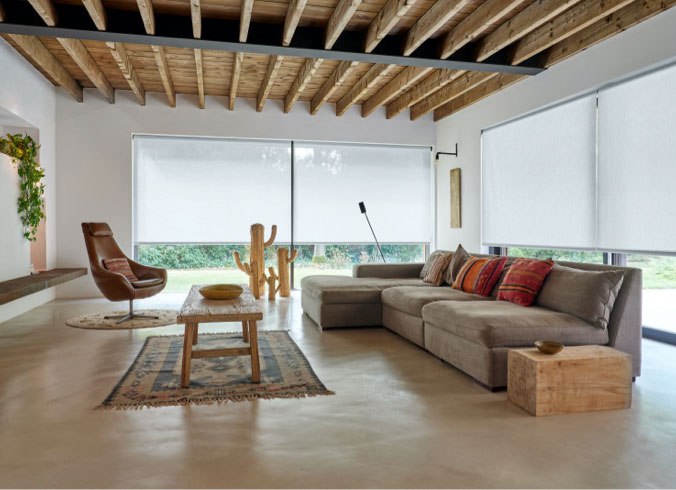
Roller Shades are perfect for all rooms, especially ones where you want to eliminate outside light. They block UV rays from fading your furniture.

You can choose from different available opacities as below:

5%- Most common shade in the market. Blocks 95% of UV rays. (Flame Retardant, GREENGUARD Certified & Antimicrobial.)
3%- Blocks 97% of UV rays. (Flame Retardant, GREENGUARD Certified & Antimicrobial.)
1%- Blocks outs 99% of UV. (Flame Retardant, GREENGUEARD Certified & Antimicrobial.)
Sheer- Sheer elegance. For just a hint of color and style.
Woven- Provides a great option to incorporate texture and dimension to your windows.
Translucent- Offers you privacy but they also allow light to enter your room.

BUDGET-FRIENDLY
Roller shades are budget-friendly at all ends of the spectrum and AAA Blinds make them that much more affordable without losing the style. Available MOTORIZED!
SIMPLE DIY SET UP

You are the professional.

You do not need to be a rocket scientist or a blind specialist to set your new custom blinds up. The beauty of the AAA Blinds process is you get exactly what you want and you can set them up Our motors come preprogrammed to your specification, no professional help needed. Learn how to measure your windows with our easy step by step tutorial.

Measuring Tips

  1. Use a steel tape measure for the best accuracy.

  2. Round each measurement to the nearest 1/8”.

  3. Always record width (left to right) first, and then height (top to bottom).

1. Choose Inside or Outside Mount

An inside mount fits inside the window casing. An outside mount hangs above the window or on the wall surrounding the window. We recommend an inside mount whenever possible.

Choose an inside mount to:

  • Give your window a clean, simple look
  • Highlight attractive window moldings
  • Free up the wall space that would be used when installing an outside mount

Choose an outside mount to:

  • Minimize light gaps and offer more privacy
  • Make your window appear larger
  • Hide windows that are crooked or unattractive
  • Clear obstructions in the window casing (like cranks) that would interfere with an inside mount

2a. Measure your Window (Inside Mount)

Mounting Depth

Now that you’ve selected your blind or shade, you have to make sure the window frame is deep enough to fit your product.

• Find your product’s mounting depth in the “Measure and Install Specs” tab on the information page for the product.

• Measure the depth of the frame from the wall to the window glass.
• If the window frame is too shallow to accommodate your product, select an Outside Mount.

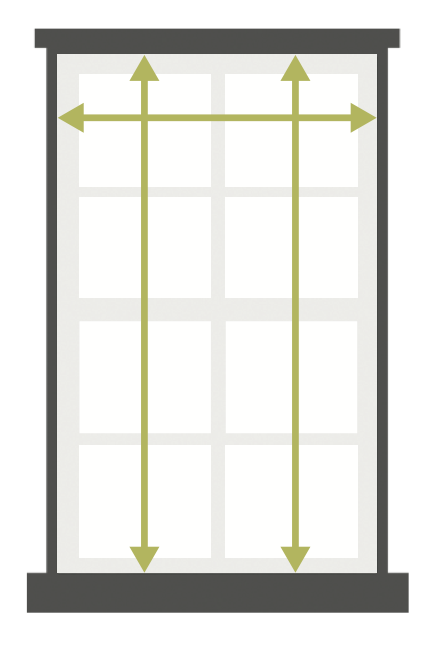
Width

• Start your measurement at the depth where you plan to mount your window treatment.

• Measure the exact window opening at the top only.

• Round to the nearest 1/8”.

Height

• Start your measurement at the depth where you plan to mount your window treatment.

• Measure the exact window opening at three places: left, right and center.

• Record the tallest height.

Please note:

Light Gaps: Inside mounted roller shades will have an approximate 1” vertical light gap between the edge of the fabric and the window casing on the side with the cord loop, and a 1⁄2” light gap on the other side. This is because the fabric must be cut narrower than the operating mechanism at the top.

If this is not acceptable, consider:

  • Adding drapery panels to cover the light gaps

  • Choosing an outside mounted roller shade with at least 2 1⁄2” overlap on each side

  • Selecting a different product, such as Honeycomb Shades, which have smaller light gaps of up to 1⁄4” on each side

    Squareness: Don’t be surprised if your windows aren’t symmetrical – many aren’t. However, If your 3 width or height measurements vary by more than 1⁄2”, the product may not operate properly, and the light gaps may be greater than expected. Consider an Outside Mount in this case.

2b. Measure your Window (Outside Mount)

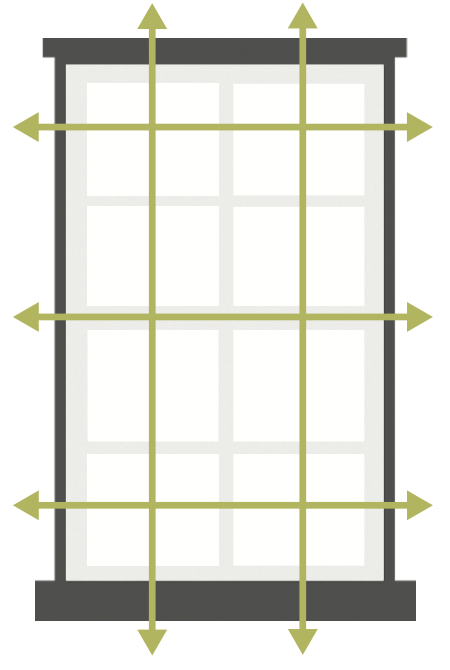
Since an outside mount covers more than just the window frame, there are a few additions you will need to make to your measurements. We will make the product to the exact dimensions that you specify.

Width

• Measure the width of the window opening.

• Add an overlap of 3” on each side of the window (6” total) to allow for more privacy and light blockage.

Height

• Measure the height of the window opening.

• For the top: add a minimum of 2 1/2″ in height to your measurements for the mounting brackets.

• For the bottom: measure to the window sill.

Please note:

Molding or Trim: We recommend mounting your window treatment above the molding. If you do plan to mount on the molding or trim, be sure the surface you’re mounting on is flat.

If you have no window sill and would like to cover the trim evenly on the bottom, add an equal amount of overlap to the bottom measurement as you do for the top.

Child Safety:

Window covering cords can be a strangulation hazard for young children and pets. Please review our Child Safety information (http://www.blinds.com/control/infopage? page=kidfriendly_blinds.html) to learn about products that are safer for kids.